
Introducing iPhone’s New Security Feature: Stolen Device Protection
An important new security feature has been introduced for the iPhone, now available for testing with the iOS 17.3 beta. This feature provides protections in case your device gets stolen. Read on to learn how to activate iPhone Stolen Device Protection and get advice on whether you should use this feature.
Why the Need for Stolen Device Protection?
Apple’s launch of the Stolen Device Protection in the first iOS 17.3 beta follows a Wall Street Journal report by Joanna Stern, highlighting a spike in iPhone thefts in public settings, such as bars. Thieves were observed watching individuals enter their passcodes, then stealing their iPhones to immediately change the Apple ID passwords and lock out the owners from their accounts and iCloud backups. Joanna even spoke to a thief who managed to steal over $300,000 from victims employing this scheme.
How iPhone Stolen Device Protection Works
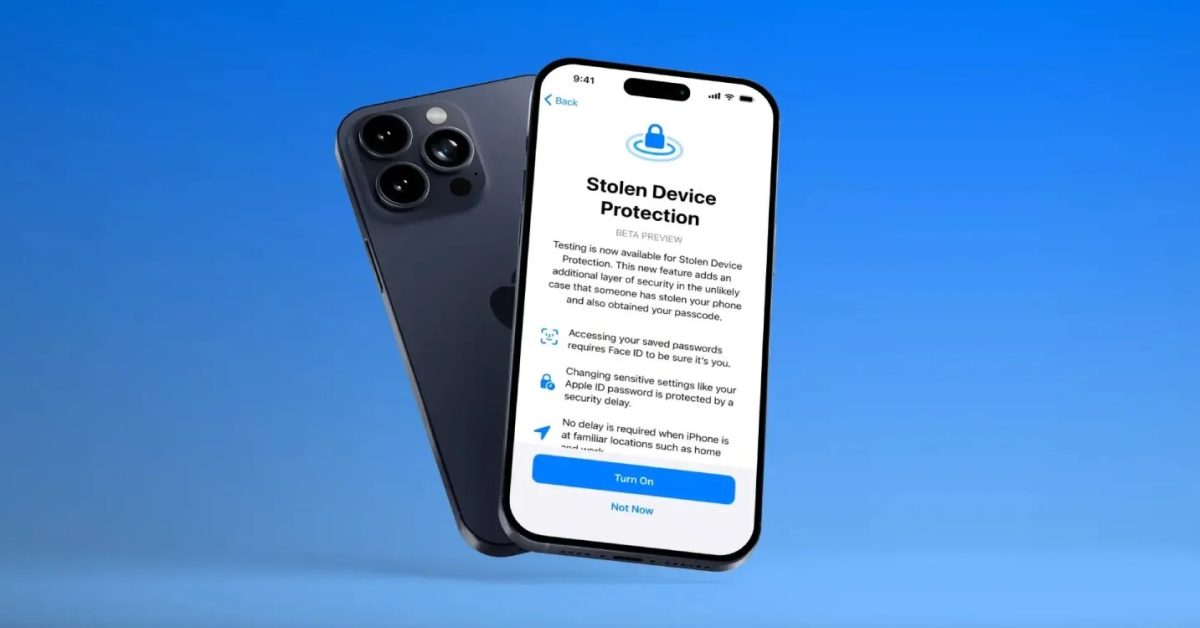
iPhone Stolen Device Protection addresses these issues by necessitating biometric authentication for accessing the phone in unfamiliar places and adding a time delay for re-authentication for certain sensitive transactions. For further details on the operation of this feature, please refer to our full article on Stolen Device Protection.
To Use or Not to Use?
In short, yes, you should use this feature. The beauty of Stolen Device Protection lies in its minimal impact on the user experience while significantly enhancing security. Once the feature is enabled, you can continue using most functions of your device, even if there’s an issue with Face ID or Touch ID, while only sensitive tasks like changing your Apple ID or viewing saved passwords are restricted. Should you need to turn off this protection due to a malfunction with biometric sensors, your passcode can disable it when you are back in a familiar place.
Enabling iPhone Stolen Device Protection
Here’s a quick guide on activating Stolen Device Protection:
1. Ensure your iPhone is running the iOS 17.3 beta.
2. Open the Settings app.
3. Tap on Face ID & Passcode or Touch ID & Passcode.
4. Under Stolen Device Protection, select Turn On Protection.
And there you have it!
For occasions when you need to deactivate it, perhaps after damaging your Face ID or Touch ID sensor, you can simply use your passcode at a trusted location.
Safe Practices While Using Your iPhone in Public
Even with Stolen Device Protection enabled, it’s wise to follow these best practices:
– Don’t give your iPhone to strangers for inputting contact details or social media connections.
– Avoid using your passcode in public; use biometric identification instead.
– Keep your iPhone securely on you when not in use.
– Refrain from connecting to unsecured public Wi-Fi.
– Avoid using public charging stations if possible.
For more iPhone tips and tutorials, check out our guides on features like iPhone Screen Distance, verifying 5G Standalone status, taking scrolling screenshots, and proper iPhone cleaning practices.
Remember to add 9to5Mac to your Google News feed for more updates.
Note: This article contains affiliate links that help support our journalism at no additional cost to you.
Read More